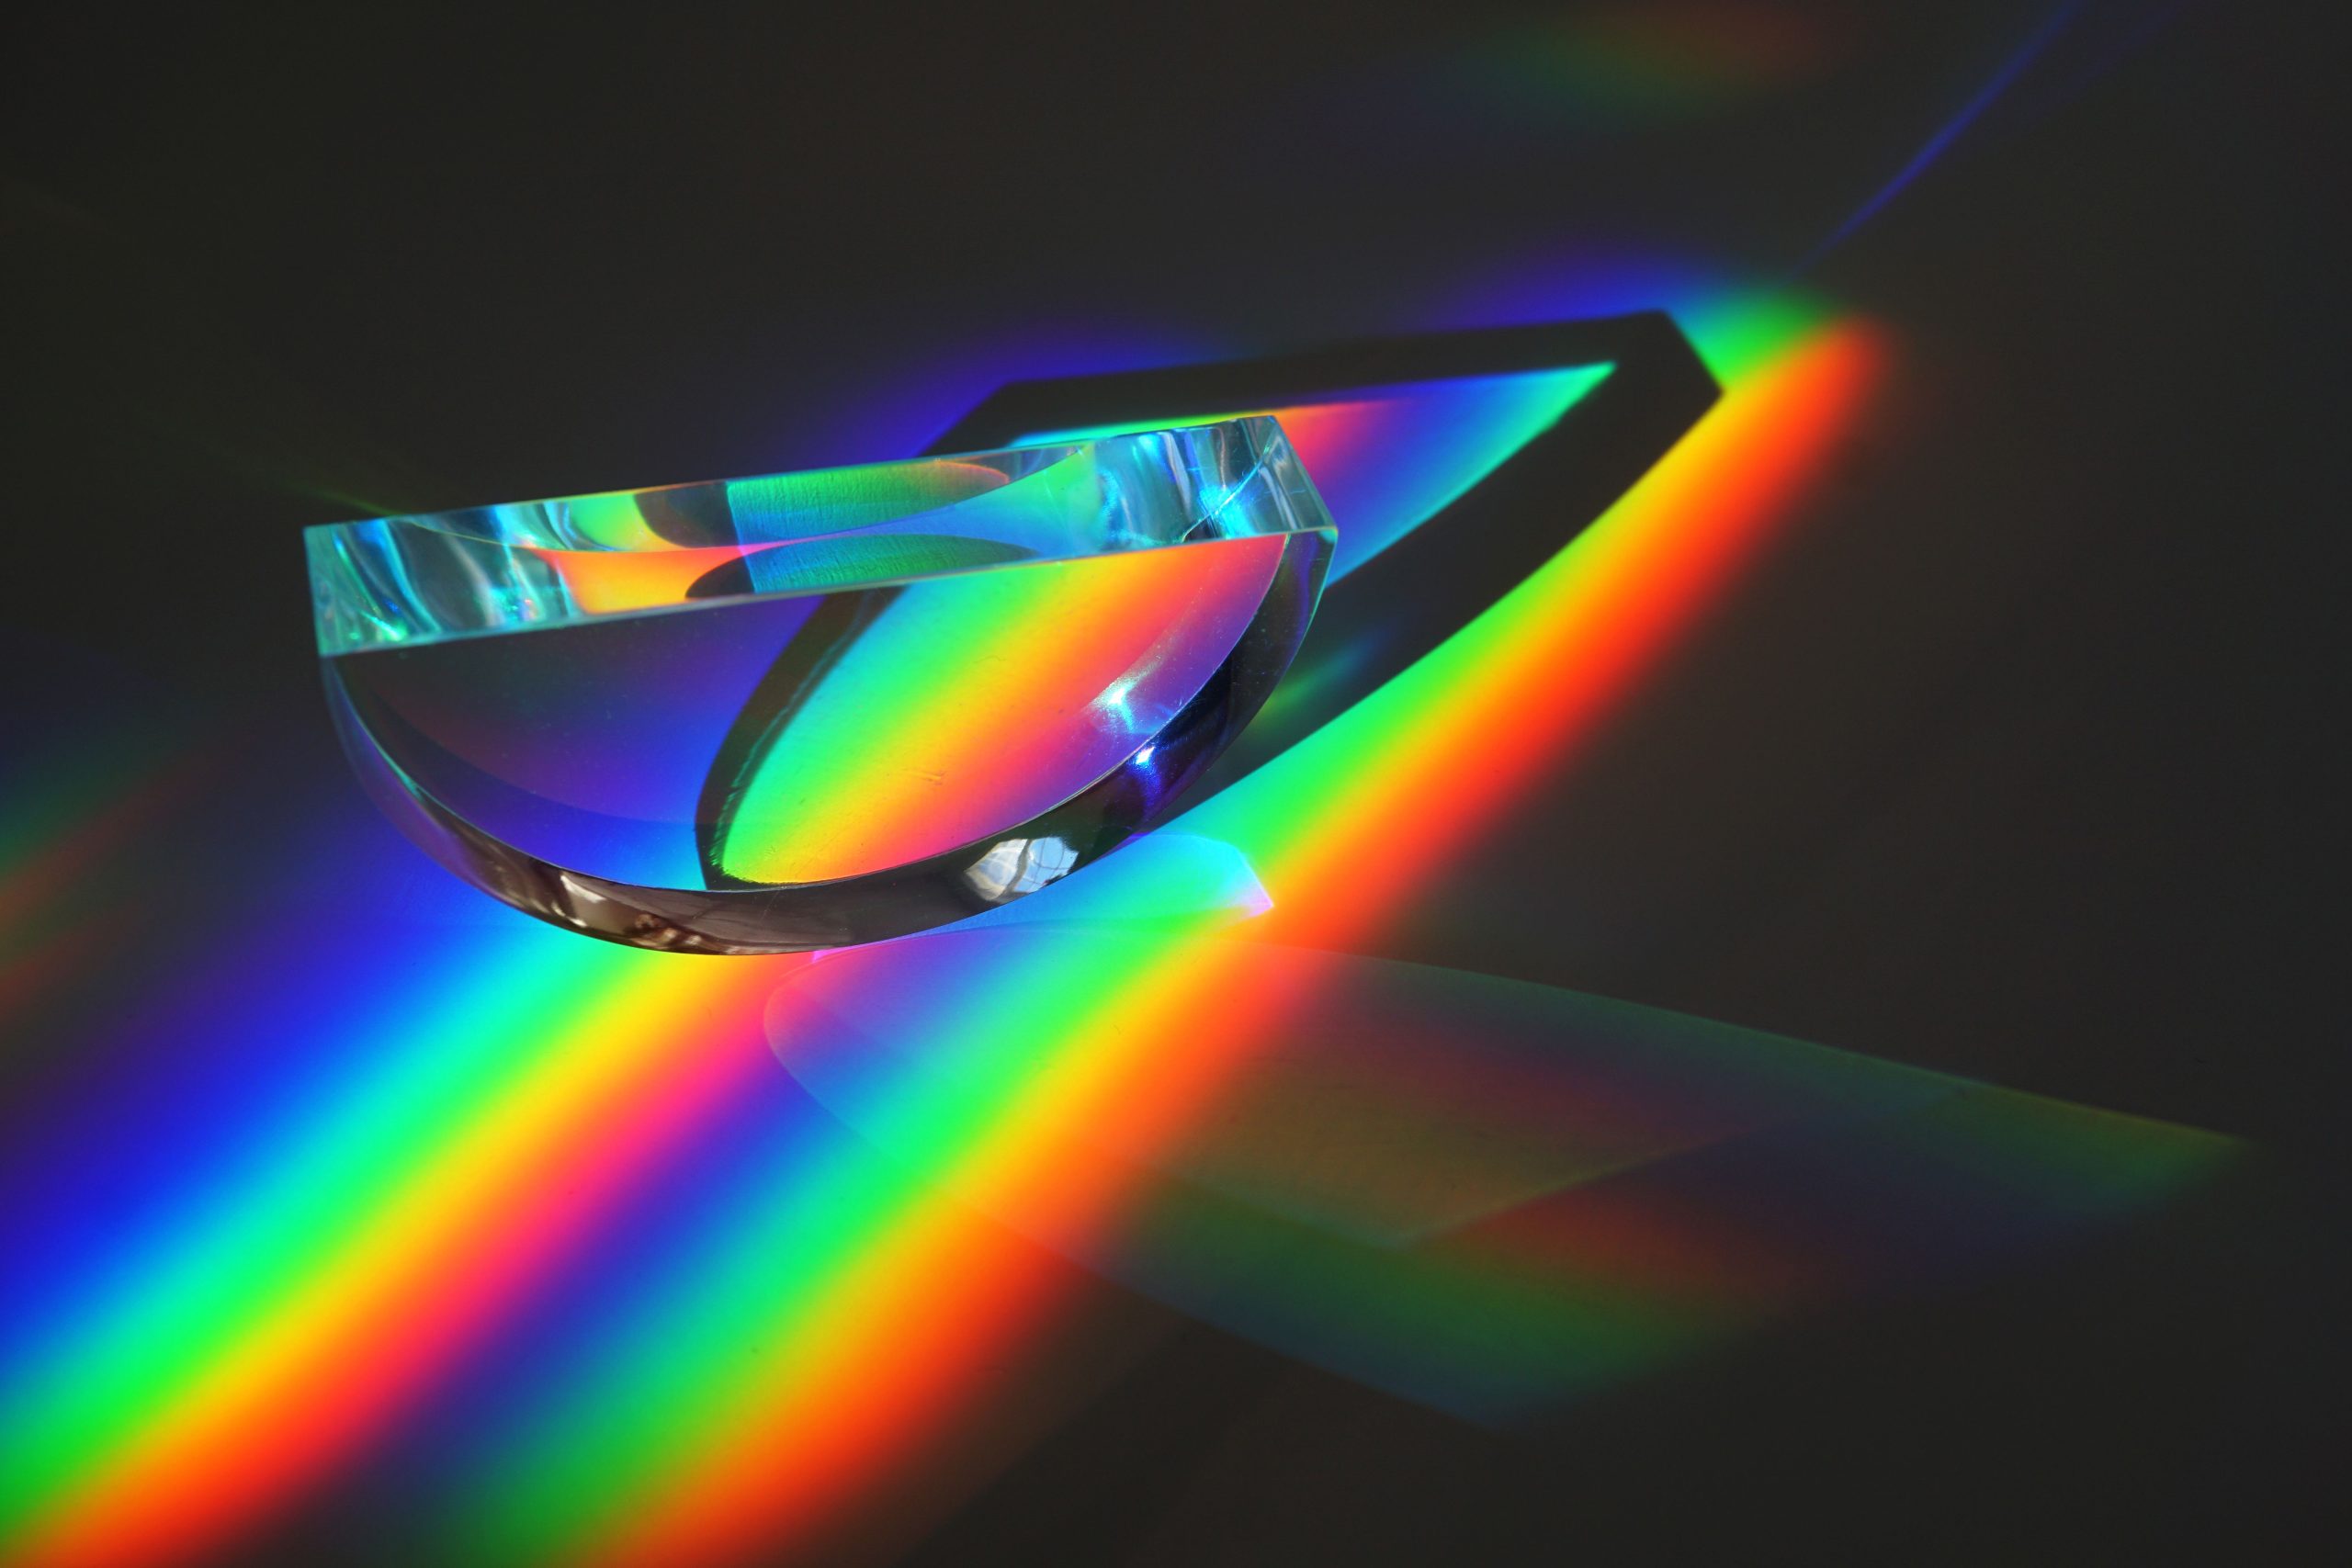
Are you fascinated by the way light bends and refracts? Understanding optics doesn’t require a physics degree; it can be a thrilling adventure right in your home! From creative experiments to captivating visuals, we’ve compiled a list of the best optics and light refraction demonstrations that will enlighten and entertain.
These hands-on activities will not only bolster your understanding of light properties but also are perfect for engaging kids and sparking scientific curiosity. Let’s get started with these amazing demonstrations!
1. The Glass of Water – Best For Simple Visions
This classic demonstration uses a simple glass of water to show how light can be bent. When you look at a straw in a glass of water, it appears bent or broken at the water’s surface due to refraction.
Key Features:
- Easy to set up
- No special materials needed
- Instant visual effects
Pros:
- Great for visual learners
- Can spark discussions about light properties
- Ideal for all ages
Cons:
- Limited to basic refraction concepts
- Requires clear water for best results
2. The Pencil in the Water – Best For Illustrating Refraction
This fun experiment illustrates how refraction can distort images. Submerging a pencil in a clear glass of water demonstrates how the pencil seems to break at the water’s surface.
Key Features:
- Visualizes light bending
- Rapid results
- Engaging for younger audiences
Pros:
- Quick and easy to execute
- Encourages hands-on learning
- Involves household items
Cons:
- May require repetition for better understanding
- Limited depth for advanced studies
3. Light and Prism – Best For Spectacular Rainbows
Using a prism, you can split white light into various colors, creating a beautiful spectrum. This demonstration effectively shows the composition of light and the concept of refraction.
Key Features:
- An impressive visual display
- Education on light spectrum
- Fun backyard or classroom activity
Pros:
- Striking visuals
- Illustrates complex theories simply
- Total crowd-pleaser
Cons:
- Need a decent light source
- Prism can be fragile
4. Bending Light with a Glass Slab – Best For Advanced Understanding
A glass slab can demonstrate how light bends at both surfaces. This advanced demonstration offers a hands-on way to explore Snell’s Law and the physics of light.
Key Features:
- Good for higher educational levels
- Teaches light angle measurements
- Shows incoming and outgoing light paths
Pros:
- Great for physics classrooms
- Interactive learning
- Good for critical thinking skills
Cons:
- Requires more setup and materials
- Not as visually striking as others
5. Water and Sugar Solution – Best For Density Variations
By creating a layered solution with different sugar concentrations, you can visualize how light behaves differently through various media. This demonstration emphasizes density and refraction.
Key Features:
- Multi-layered effect
- Shows how density affects light
- Engaging and educational
Pros:
- Hands-on experimentation
- Visual learning experience
- Rich for scientific discussions
Cons:
- Involves sugar, which can be sticky
- May take time to set up properly
6. The Laser Beam and Smoke – Best For Visible Light Paths
Using a laser pointer and some smoke (or a mist generator), you can create captivating visible light paths. This demonstration highlights light’s straight travel and reflection but doesn’t involve complex variables.
Key Features:
- Engaging sensory experience
- Shows straight-line motion of light
- Easy to organize
Pros:
- Visually striking
- Simple materials
- Interactive for an audience
Cons:
- Laser safety precautions required
- Smoke needs proper setup
7. The Soap Bubble – Best For Colorful Refraction
Bubbles created from a soap solution are a fantastic way to see refraction in action. They showcase a variety of colors due to the thickness of the bubble wall and how it interacts with light.
Key Features:
- Colorful and fun
- Easy to create
- Shows light interference effects
Pros:
- Highly captivating for kids and adults
- Safe and easily approachable
- Can lead to discussions about wavelengths
Cons:
- Short-lived—bubbles pop quickly
- Requires calm conditions for best results
8. The Object Shadow Experiment – Best For Light Direction
This simple experiment demonstrates how light travels in straight lines and how shadows form. It can be done with any light source and various objects, providing educational insights into light behavior.
Key Features:
- Utilizes easily accessible items
- Visualizes light travel
- Simple yet effective
Pros:
- Immediate results
- Encourages creativity in object selection
- Fosters critical thinking with shadow dynamics
Cons:
- May require varied lighting conditions
- Basic in-depth scientific exploration
How to Choose the Best Demonstration
When selecting an optics or light refraction demonstration, consider the age group and scientific knowledge level of the participants. Some activities are more suited for younger children, while others may engage advanced learners. Additionally, take into account the materials you have on hand and the setup time you’re willing to invest. Ensure the demonstrations you choose foster curiosity and deliver exciting visuals to enhance learning.
#OpticsExperiments #LightRefraction #ScienceAtHome #STEMActivities #PhysicsFun #EducationalDemonstrations #DIYScience #FunWithLight